
The Blood of Dawnwalker Map Guide — Size, Regions and Fast Travel
Laslea measures about 10 km² across 10 regions — walkable end to end, with shrines for fast travel and 11 towers to unfog the map.
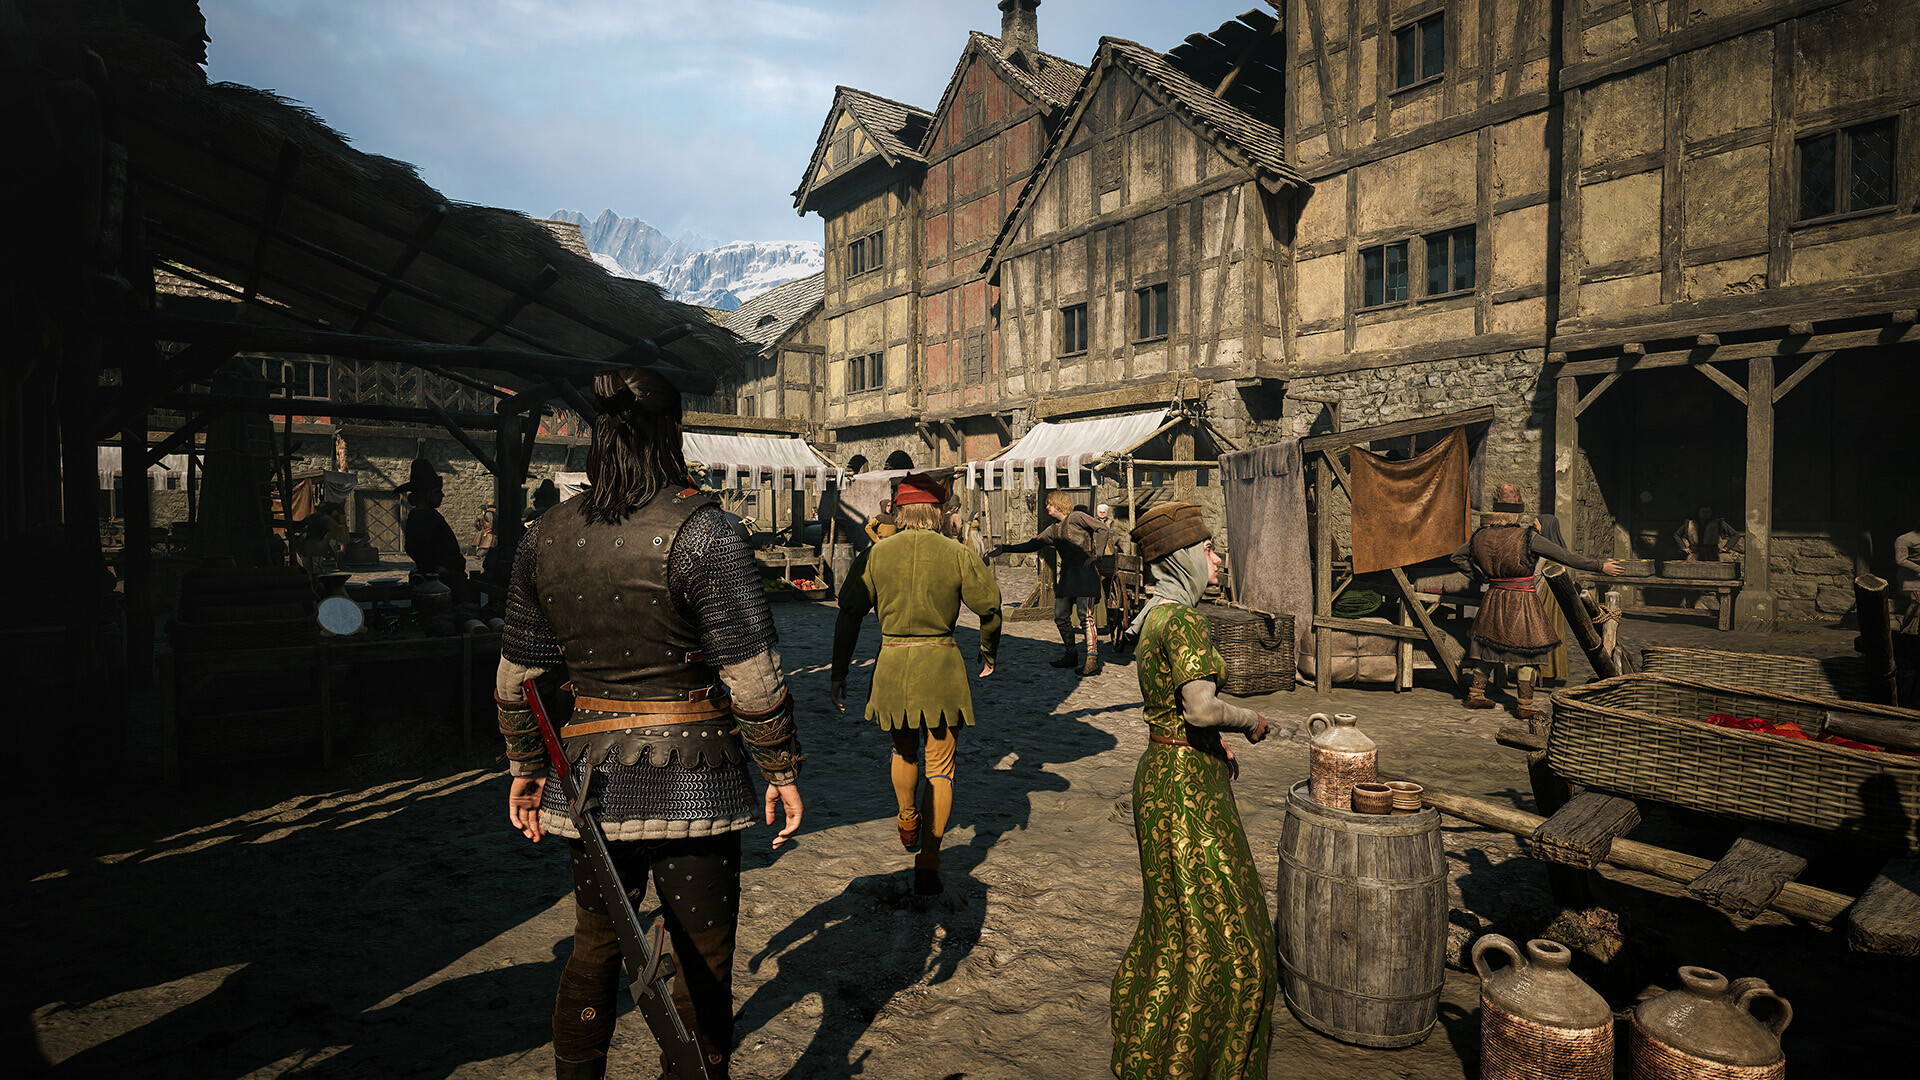
Quick answer: The Blood of Dawnwalker’s map covers roughly 10 km² of Laslea, about 4 km north to south and 3 km east to west at the widest points, split into 10 regions. There are no mounts — you walk everywhere, unlock shrine fast travel, and climb 11 towers to reveal the map’s markers.
Map facts at a glance
| Map fact | Value |
|---|---|
| Total size | About 10 km², all land |
| Dimensions | ~4 km tall × ~3 km wide at the widest points |
| Regions | 10 |
| Mounts | None — foot travel only |
| Fast travel | Shrines |
| Towers | 11, each revealing nearby markers |
| Full unfog + shrine sweep | Around 3–4 hours |
How big the map really is
The Vale Sangora sandbox runs about 10 square kilometers, roughly 4 km from top to bottom and 3 km across at its widest band, narrowing toward the upper half of the map. Every meter is explorable land — no oceans, no mounts, no vehicle shortcuts. Rebel Wolves have been open about sizing the world deliberately small: a map you can memorize instead of one you commute across. In practice, the 10 km² hold a denser checkpoint-per-hectare ratio than most open worlds twice the size, and crossing it on foot reinforces the day-and-night rhythm the whole game is built on.
The 10 regions of Laslea
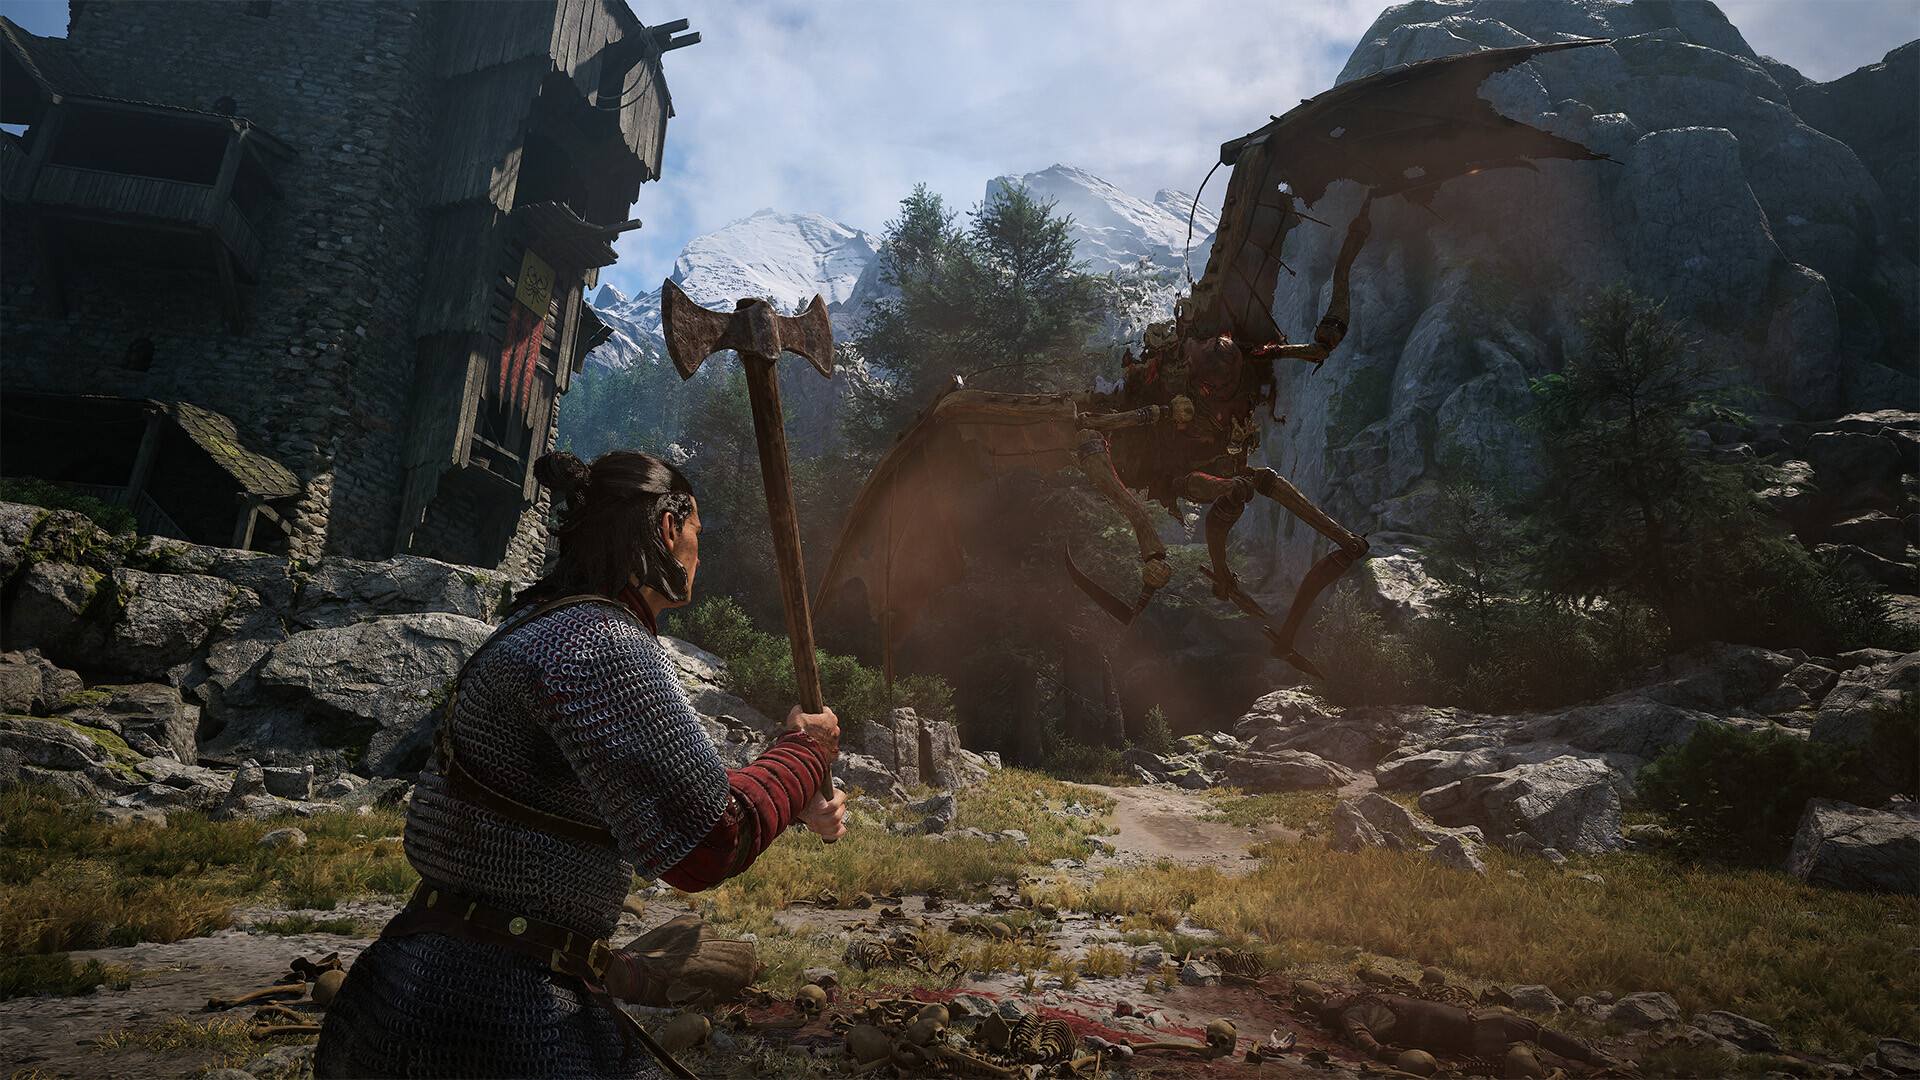
The map divides into 10 named regions: Laslea Glen, Briar Sloughs, Maragir Wealds, Boar’s Back, Svartrau Outskirts, Svartrau City, Rockfalls, St. Tyna’s Grove, The Slits, and Tantari Woods.
Several landmarks anchor your routes: the Military Camp in Briar Sloughs starts Crake’s questline with The Firebrand, and the same region hides the broken bridge west of the Coward’s Path Shrine where the early escape ending triggers. Svartrau City holds the cathedral district and the West Gate balcony route into one of the Curious Houses. The Racovitza bandit camp sits on the east edge of the map, where the miniboss Georghe drops the Side Gate Key to Greifberg Castle, and Silts Tower hosts the dream quest Home Sweet Home. The Vedera Shallows Shrine marks the path toward that castle’s side entrance.
Shrine fast travel and waiting
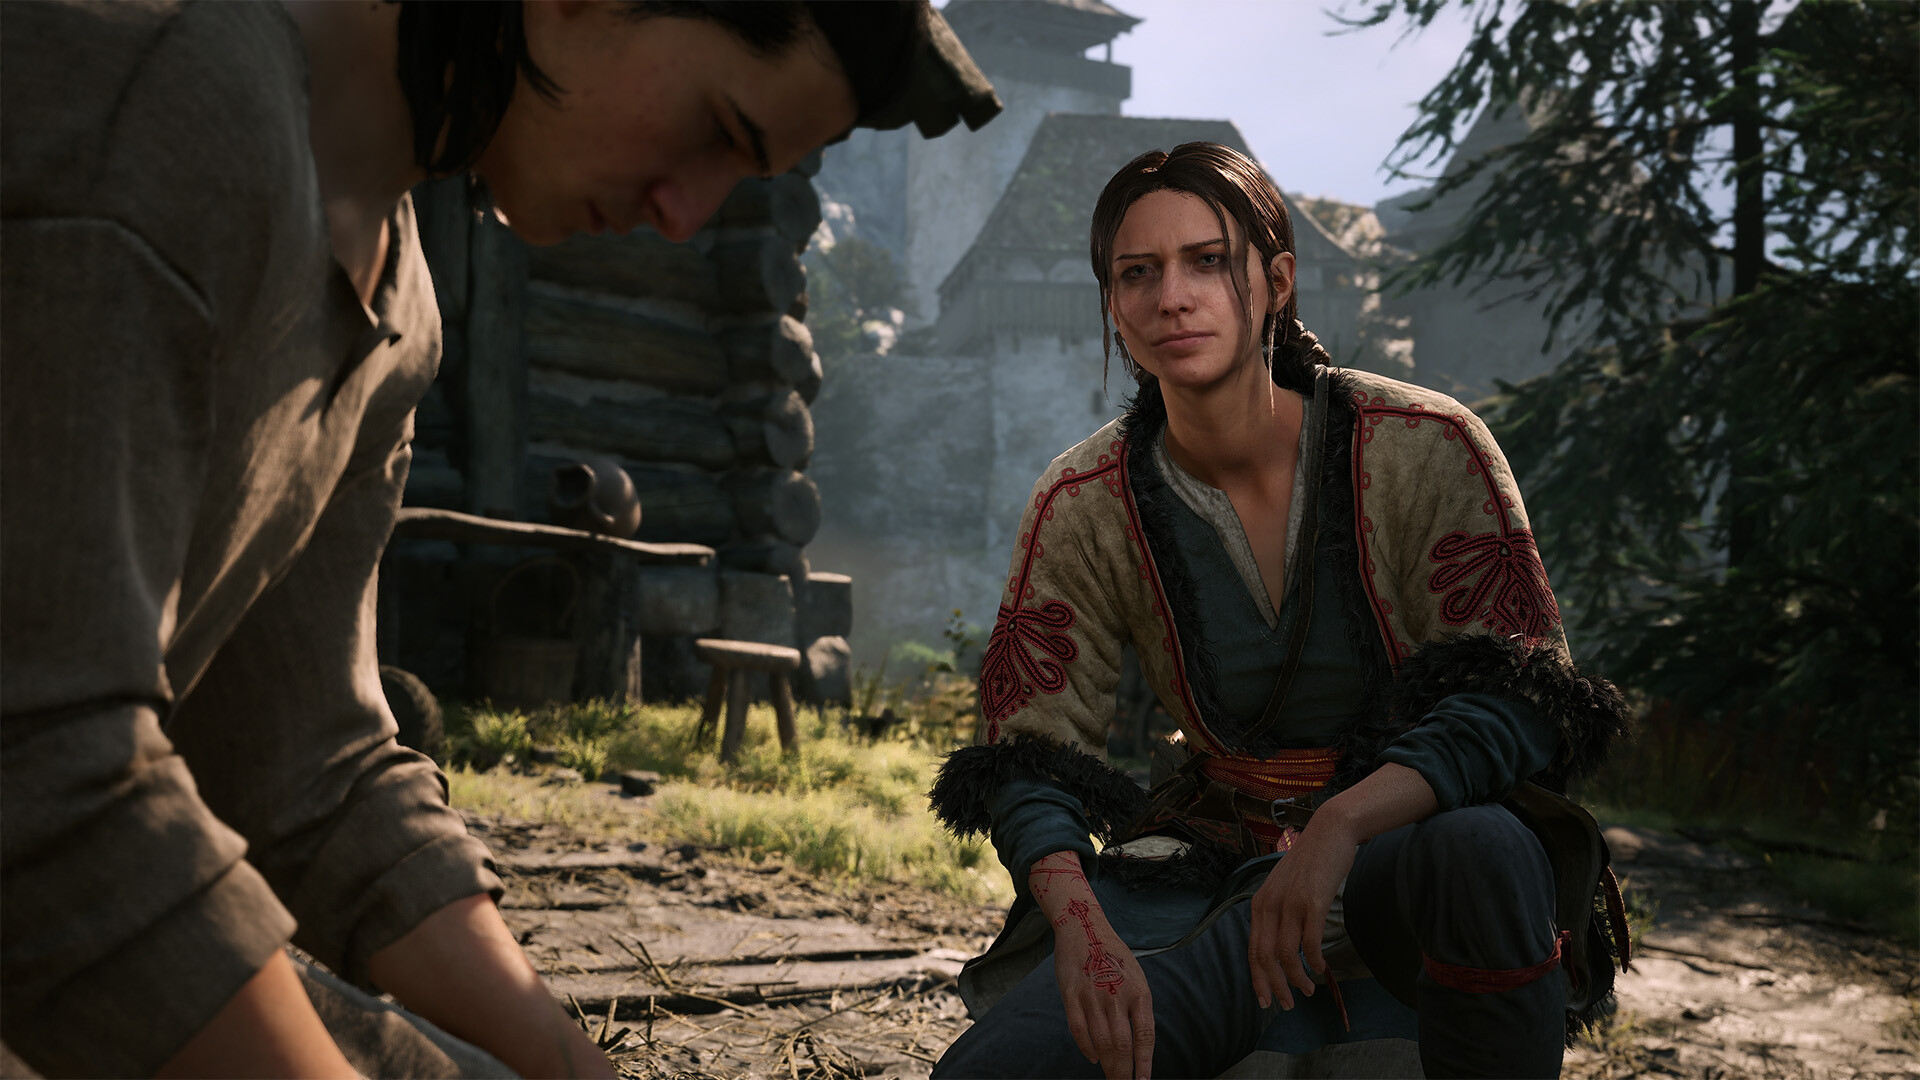
Shrines are the map’s fast-travel network and its clock management tool in one. Activating them as you explore lets you jump between districts instead of re-walking them, and interacting with a shrine to wait also skips time — forward to nightfall for vampiric routes, or forward through whole days when you are deliberately racing the 30-day deadline. Because story time only advances through quests and marked actions, shrine-to-shrine exploration costs you nothing but loading screens.
Towers, question marks and unfogging
The map’s 11 towers are its reveal mechanic. Climb a tower and every location in its radius becomes marked; nearby collectibles and quests then appear as white “?” icons, and approaching an icon identifies what kind of activity waits there. A disciplined sweep — every tower climbed, every shrine touched — takes around 3 to 4 hours and converts the whole map into a readable checklist. That single session is the backbone of any 100% run, which completionists time at 100–120 hours all-in.
Getting around without mounts
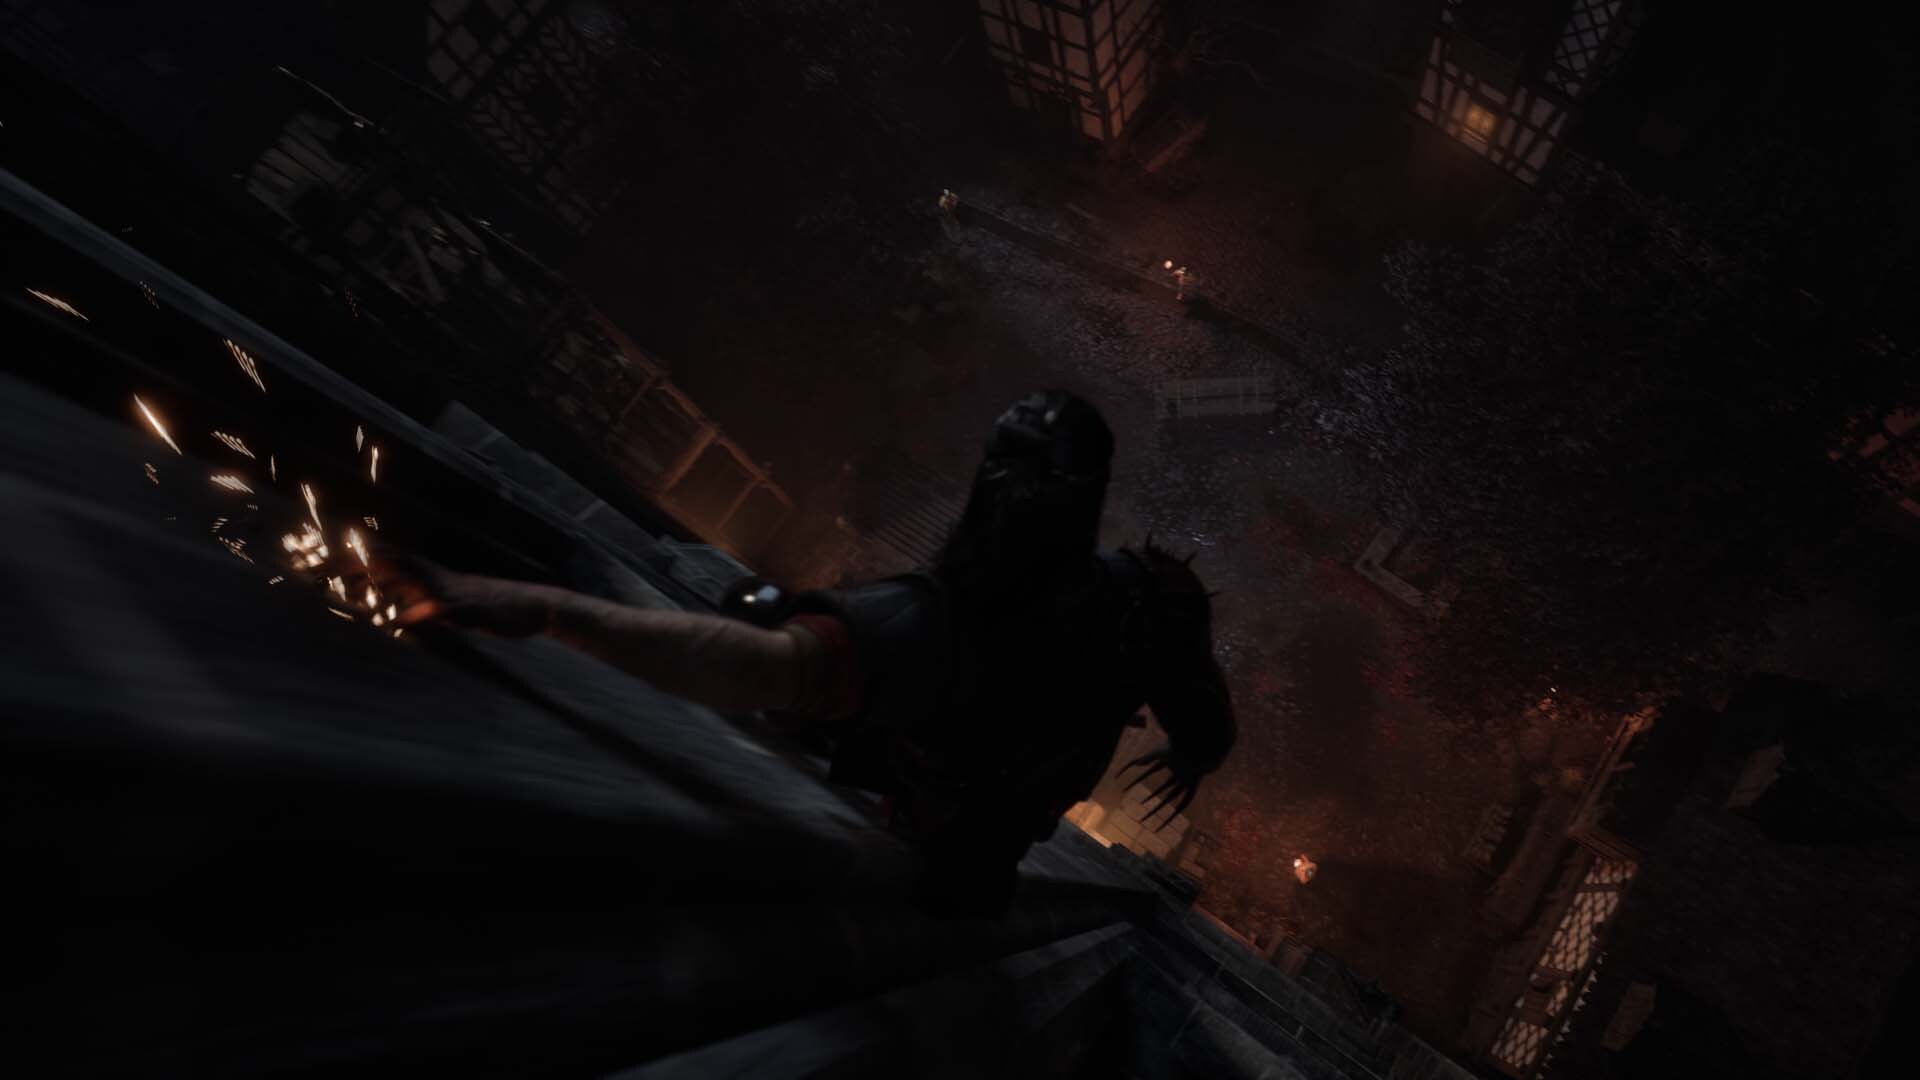
No mounts exist in The Blood of Dawnwalker — the map is crossed on foot, full stop. Two purchased skills soften that: Shapeshift from the Vampirism tree and Mercurial Fervour from Witchcraft both raise your run speed considerably. Night adds vertical movement to the toolkit: Planeshift lets you walk up walls and cliffs, and Shadowstep teleports you across gaps, which is how you reach places like the castle wall or the broken bridge in Briar Sloughs. Since ordinary exploration never advances story time, the fastest route between two points is whichever one you enjoy.
FAQ
Can you ride a horse in The Blood of Dawnwalker?
No. There are no mounts of any kind — the 10 km² map is traveled on foot, with Shapeshift and Mercurial Fervour as your speed upgrades.
Can you fast travel from anywhere?
Fast travel runs through shrines. Activate a shrine first, then move between activated shrines; waiting at a shrine also skips time forward.
How long does it take to fully reveal the map?
Climbing all 11 towers and visiting every shrine takes around 3–4 hours, after which all locations show as markers and activities appear as white question marks.
Does exploring cost story days?
No. Exploration and ordinary combat do not advance the 30-day clock — only quests and certain marked actions or dialogue choices do.